Free word search
Category
Effective Vacancy Solutions: Optimizing Photos and Interiors for Rental Properties
2025.11.28
.png)
For rental property owners, “vacancy” is a constant concern. The longer a unit stay empty, the more it damages your revenue. Instead of assuming vacancies are temporary, it’s essential to take proactive measures that help maintain full occupancy. In this article, we’ll introduce key points for optimizing property photos and interior presentation, both of which greatly influence prospective tenants’ impressions during the viewing process.
Why Photos Matter
When searching for properties—whether rental or for sale—most people rely on property listing websites. Photos serve as the first impression. If the images give even a slight negative impression such as “It looks old” or “The surrounding area seems unsafe,” users may avoid clicking on the listing altogether. Even if the actual property is better, poor photos can prevent inquiries, viewings, and ultimately contracts.
Of course, using images that misrepresent the actual property is unacceptable. However, it is important to present the property in the most attractive and accurate way possible.
What to Include in the Photos
Photos of the building exterior, interior, and shared facilities are a given. In addition, you should include images of nearby amenities, such as convenience stores, supermarkets, drugstores, and schools—along with the distance from the property.
This helps prospective tenants imagine what life would be like after moving in. Even if the property itself is appealing, if they cannot understand the convenience of nearby facilities, they cannot decide whether it seems “comfortable” or “a bit inconvenient.” Such “unclear” properties are often put on hold and may not be reconsidered later. To avoid this wasted opportunity, provide detailed photos and information about local amenities as well.
.png)
Key Points for Taking Effective Photos
Photos are crucial for increasing inquiries and converting them into viewings and contracts. The goal is simple: create images that make people think, “I’d like to see this place” or “I’d like to live here.”
Take photos on bright, sunny days
Dark images can suggest poor sunlight, high humidity, or bad ventilation. Avoid shooting in the evening or at night. Shoot from morning to midday when the room is filled with natural light.
Flash photography may not illuminate the space evenly, so it’s best to rely on natural light. Smartphone brightness controls and contrast adjustments can help, but over-editing can make photos look unnatural. This rule applies to both exterior and interior shots.
Shoot from diagonal angles
Shooting from a corner toward the opposite corner is a great way to make a space look more spacious. This technique widens the field of view and gives a better sense of room size.
Use eye-level angles as the basic rule
Taking photos from a sitting position can make ceilings look higher than they are, causing disappointment during an in-person viewing. Eye-level photos provide a more realistic sense of the space.
However, for narrow spaces like toilets or bathrooms, shooting from a slightly elevated angle to capture the entire layout is recommended.
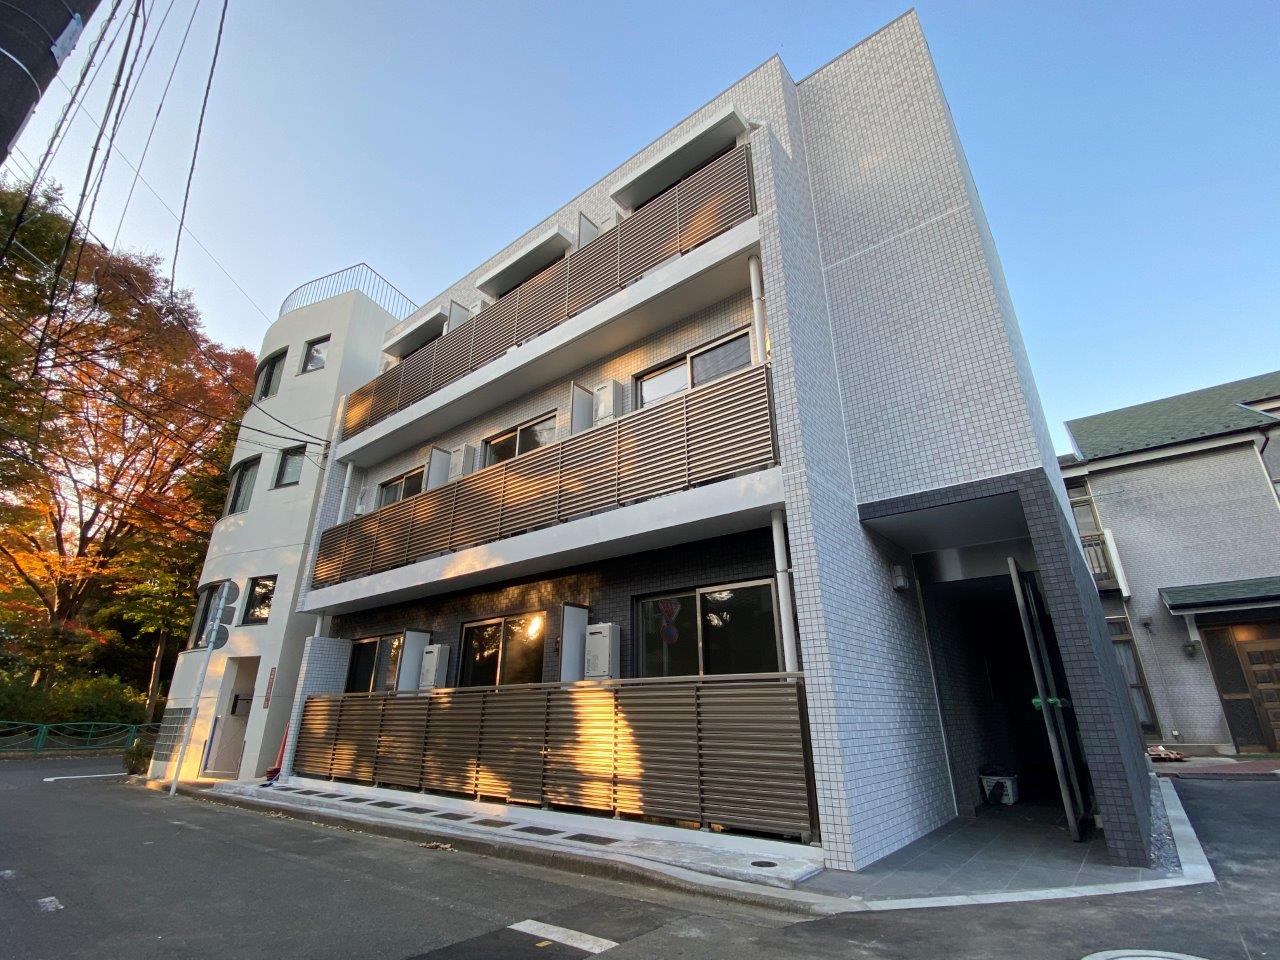
Shoot exterior photos from an angle, not straight on
Front-facing shots make it hard to convey depth and can result in dark images when backlit. Stand at an angle to the building and, if possible, position the sun behind you to get a clear, bright exterior shot.
Low-Cost Ways to Improve Interior Impressions
As buildings age, deterioration becomes visible. Properties that look too “old” tend to be avoided by tenants. However, even small updates can refresh the impression significantly. For example, renovating only the wet areas, replacing wall or floor coverings.
These simple improvements can greatly enhance the property’s appeal. To maintain and increase the property’s value, implement improvements wherever possible
Related Articles
(2).png)